Now, if you invite me somewhere, you should immediately assume I will pull apart anything you give me and put it back together -- while photographing it. The truth it, there won't be an easy favor that I'll get without deconstructing it and posting it here.
Easy DIY Tissue Favors
Granted, yes, these easy favors are baptism-themed, since, yes, we went to a baptism. But you can take this concept and apply it to your wedding with a few little tweaks.
What You'll Need:
What You'll Do:
Start by opening the bag. What's great about these bags is that the ribbon is attached so you don't have to buy ribbon separately. Also, you don't have to fumble with trying to tie these. You just pull the ribbon and it closes.
Place the confetti at the bottom of the bag. I would say about two pinches will work perfectly, but you have to see how many bags you have and allocate appropriately.
Warn your guests that there's confetti inside. Or don't -- and have them open the bag like me ... with confetti all over their lap. It's sort of like sending a glitter bomb.
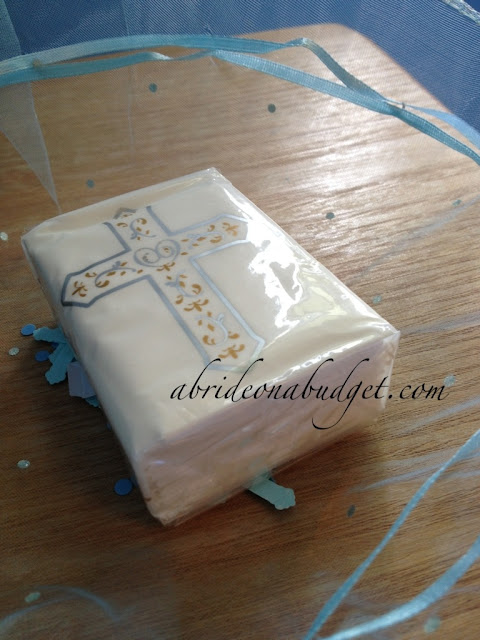
Put the tissues on top of the confetti.
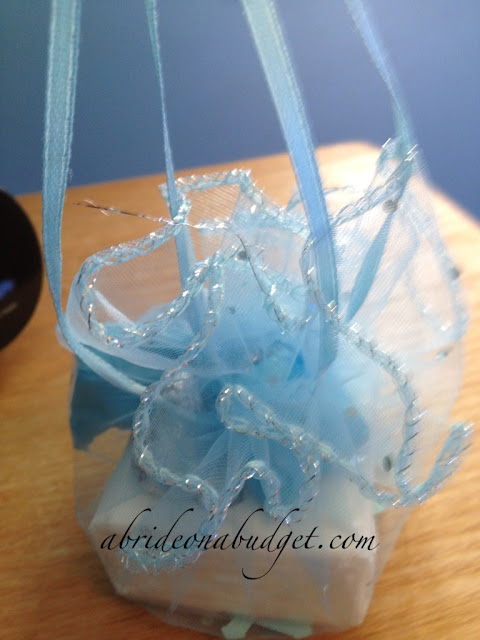
Pull the ribbon a little to create a wall. It'll be a lot easier for you to place the other items on top when you do this. If you leave the entire bag wide open, you risk having the candy fall on the sides, which is just a little annoying.
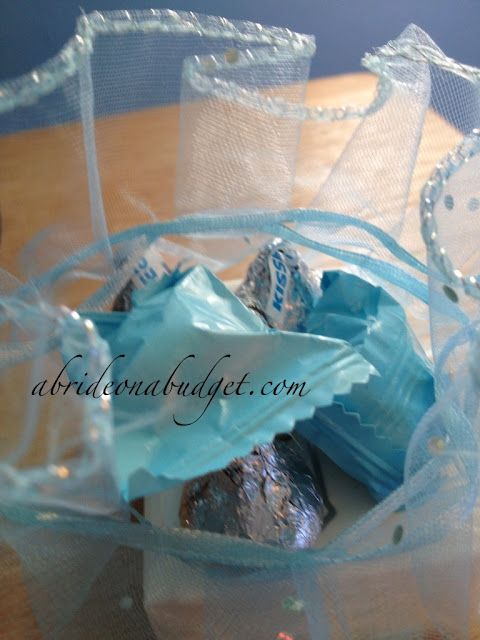
Fill the bag with kisses and buttermints.
I love both of these for wedding favors. Kisses are obvious and mints because you and your spouse are "mint to be."
Pull the ribbon tight.
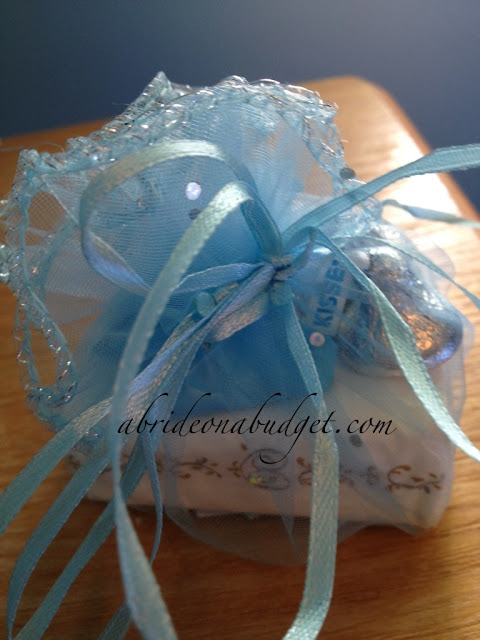
Tie the ribbon in a bow.
Affix a thank you sticker.
This is key. Wedding thank you cards traditionally don't go out for about six months after the wedding, but this is a way to say thank you right away.
These are really a simple easy favor to put together and to place on each table setting on your wedding. Plus, they're really budget-friendly, but don't look cheap. That's completely ideal.
BRIDAL BABBLE: If you made these easy DIY tissue favors, what would you fill them with?





I think the mints and Hershey kisses are perfect for any occasion!
ReplyDeleteWhere in the world did you hear that thank you's don't go out for 6 months after the wedding? They should ideally go out as soon as possible after receiving the gift.
ReplyDeleteA shower thank you goes out right after, but a wedding thank you card traditionally waits until wedding photos have been returned. And with most photographers, that takes quite a few months. I've never received a thank you card with photos any sooner than six months post-wedding.
DeleteThese look fantastic! Tissues are a great idea, as everyone gets teary-eyed during the speeches ;)
ReplyDeleteThanks for sharing at #Pintorials
Cute idea. I have used organza bags in the past to create special little gifts for friends. They are really cute. Thank you for linking up with Frugal Friday. :)
ReplyDeleteThese favor bags are so pretty and simple to make. Thanks for sharing!
ReplyDeleteThey look very pretty
ReplyDeleteYes! Everyone can use tissues! Great idea!
ReplyDelete