
If you remember, I completely flipped out over engagemment party centerpieces. I couldn't think of an idea and spent countless hours on Pinterest, pinning things in hopes one would catch my eye.
My mom kept suggesting balloons and I kept shrugging them off. I didn't want a birthday party feel. I wanted something classy, something unique, something that needed more than heart-shaped balloons floating in the air.
All I really knew was I wanted something red. Our favors were heart-shaped chocolates and personalized peppermint patties that my mom sewed into red card stock.
The centerpieces had to be red as well.
We found a great idea of glittered wine bottles online, so, on Thanksgiving Eve, the biggest party night of the year, I was home crafting so I could make table centerpieces using wine bottles that I glittered.

The centerpieces came out absolutely perfectly and were just what I wanted. A bit of class, a bit of homemade that didn't seem homemade, and under $20 for ten.
That's because my friend was able to pick up the wine bottles from a local restaurant. If you drink wine, you'll be able to just save your old wine bottles. If you don't drink, you can call your local restaurants or bars and see if you're able to pick some up from them.
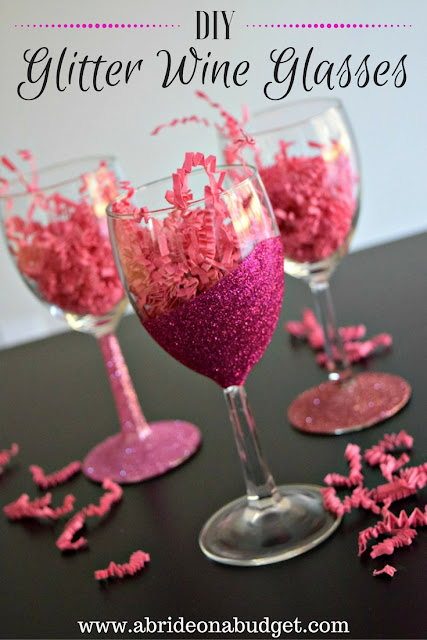
Glittered Wine Bottles Centerpieces
What You'll Need:
- Wine bottles
- Mod Podge
- Glitter
- Foam paint brush
- Steel wool
- Masking tape
- Paper plate
- Oval serving trays
- Favors
What You'll Do:
To start, you need wine bottles. I used a combination of green and white bottles because that's what we were able to get.
There will be only one centerpiece per table, so no one will really be comparing them all. They won't realize if the bottles are different sizes or shapes, so you can be very flexible.

To do so, run them under hot water and scrub with steel wool. It won't ruin the wine bottles, just rub off the label.
If any sticky residue is left behind, a bit of olive oil on a paper towel will do the trick. I heard that Goo Gone will also do this, but I haven't actually ever used that ... mostly because I always have olive oil handy.

Take masking tape and wrap it around the top of the bottle. Try to be as straight as possible, but if you're not, it's okay. A little bit of character will do the bottle good.
If you want to cover the entire bottle in glitter, you can skip this step. I've seen them both ways, and they're both great. I left room up top, though, because I wanted the color of the bottle to come through.

You're going to need some Mod Podge for the next step.

Cover the entire wine bottle, up to the tape, in Mod Podge.
I used long thin streaks, but it really doesn't matter. The Mod Podge will dry clear, so even if it is uneven or blotchy, it will be fine when it dries. Trust me. I was using the "blot on as much as possible" method when I started and the next day, I couldn't tell the difference in techniques.
The only thing you should be concerned about is if you get bubbles in it. Those will remain after it dries, so try to avoid it bubbling.

Hold the wine bottle over a plate and pour the glitter on it. This is the best technique I found.
I tried rolling it, I tried being stingy with the glitter. Nothing worked as well as getting messy and generous with the glitter. I bought a 4oz. glitter bottle and it was enough for nine bottles. The 10th was in red, not white, so that worked out for me.


Ta-da!
You can use some wire cutters or a knife to cut the label off the top of the bottle, but at this point, you probably don't care and will just leave it.
Leave them to dry overnight.

Once they're completely dry, paint another layer of Mod Podge over the glitter to seal it. Let that dry overnight as well.
My mom made a little bit of curled ribbon to come out the top to act like an overflowing bottle of champagne. We placed them on a clear, hard tray in the middle of the table and surrounded them with the actual favors that my mom sewed.
These DIY glitter bottles fit my criteria (cheap, disposable, and color coordinated to my theme) and everyone loved them. Success.
Since you left that space, you can brainstorm how to paint wine bottles for weddings. You might want to write the table numbers up top, your names, your wedding date, whatever fits. Just be sure to use a glass paint or it won't stay.
BRIDAL BABBLE: What do you think of these Glittered Wine Bottles centerpieces?
Want more DIY glitter projects?

Those are super cute!! I Love them much more than the expandable hearts idea ;)
ReplyDeletelove!!!
ReplyDeleteI'm not good at arts and crafts but i can totally see myself doing this! they are so pretty.
ReplyDeleteOooh any excuse for more sparkly. Thanks for sharing. Hello from Nifty Thrifty Sunday.
ReplyDeleteThose are so pretty! Visiting from Throw Back Thursday, and totally pinning theis tutorial. :)
ReplyDeleteLOVE these glittery bottles - what a fabulous and simple idea!
ReplyDeleteThanks for linking to a Round Tuit!
Hope you have a fabulous week!
Jill @ Creating my way to Success
http://www.jembellish.blogspot.com/
Such a gorgeous centerpiece. The tables must have been so lovely. Thank you for linking at the In and Out of the Kitchen Link Party. Hope to see you again next week.
ReplyDeleteWow, those came out really pretty. Thanks for stopping by and sharing with Throwback Thursday Blog Style. I can't wait to see what you share this week.
ReplyDeleteI like them! It is fun going back this far in your journey!
ReplyDeleteAn idea for anyone making these - or anything out of recycled glass bottles for that matter.... To get the labels to come off easily without all that scrubbing, spray WD-40 or Goo-Gone/Goof Off on them and let it soak through the label, the labels wipe off much easier, and it's pretty easy to get the sticky off, you might need to scrub a little, but not nearly as much... Then just wash them thoroughly with dish soap to get the residue from the WD-40 off.
ReplyDeleteYou can never go wrong with glitter. Great job! Thanks for sharing on To Grandma's House We Go!
ReplyDeleteThese look awesome. We did these for our wedding centre pieces too.
ReplyDeleteGlitter is always a good idea. The bottles look great! Thanks for sharing at Merry Monday, See you next week
ReplyDeleteI love this idea. It's perfect for a Christmas Tablescape. Thanks for sharing on Sunday's Best.
ReplyDelete