I remember the first time someone told me about going to the wholesaler to purchase wedding flowers. She was going to put together her wedding bouquets and centerpieces.
"I could never," I said. And I meant it. Regardless of the fact that I wanted a cascade bouquet, there was no way I was going to DIY my wedding flowers. I wasn't a professional. I never assembled bouquets in my life. Even when Pete surprises me and brings me flowers home from the store, I don't really have confidence in my arrangement skills. Usually, I just cut the stems and put them in a vase. I don't concern myself too much with symmetry or aesthetics.
So DIY wedding bouquets were out of the question.
Yes, flowers are expensive. Post-tax, our flowers were our third highest expense (behind only the venue and our photographers), and we went with the most reasonably priced florist in town too (a second florist quoted us nearly double the price for less). So yes, you can save by arranging your own bouquets.
But, can you really? If you purchase the flowers from a wholesaler, then realize it's a disaster, then order from a florist, you've spent extra money. And, if you spend an entire day putting together DIY wedding bouquets (a day during wedding week, mind you), you could cost yourself a lot in time.
When Bloominous emailed me, I wasn't sure. Basically, you order the flowers from one of four pre-arranged packages. The flowers are overnighted to you with directions and a picture, and then you make your stunning wedding bouquet.
Sounds easy, but I wasn't sure.
Bloominous actually has trial kits of each arrangement so you can practice and see if it's possible for you to actually do before spending money. I asked for the trial kit of the Vintage Cottage collection (because it's very baby's breath heavy and gypsophila is so popular in wedding bouquets right now).

The kit arrives in a box. Yes, a box.
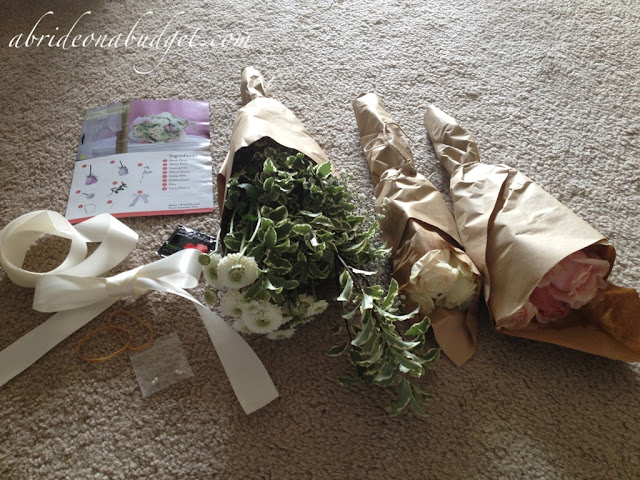
The kit contains everything you need, bundled together so you don't confuse anything. There's also an instructions page that tells you exactly what you need to do, which is really helpful because there's a good chance you don't know exactly what you need to do.

The flowers are wrapped in paper bunches. When you open the paper, the flowers are bundled with a water soaked piece of foam at the bottom of the bunches.
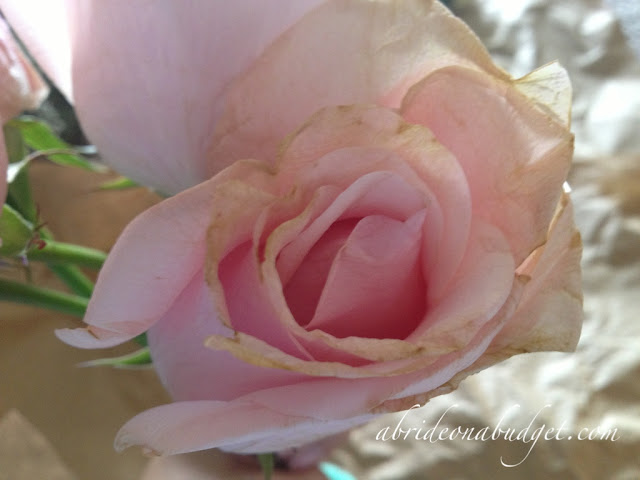
The flowers that arrive may not be perfect, but that's actually addressed in your instructions. It says the outer petals on roses are guard petals since they were left on to protect the flowers. Some of our flowers were browning at the edges, even the center petals.
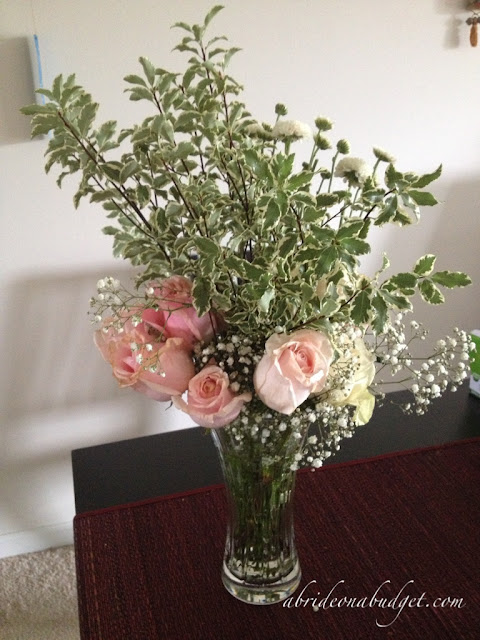
After you open the flowers, run the stems under water and cut off one inch from the bottom. Then, leave the flowers in water for at least four hours. It says wait until the day or two before your big day to start assembling them, so I would keep them in water until then. The flowers will continue to bloom after you assemble, so that's where the time frame comes from. They're cut-to-order from the farm, so they're mailed to you as fresh as possible. Because of that, they're not fully bloomed.

Once I decided to put the bouquet together, I separated the flowers and leaves by type, since it seemed a little easier for me to grab and assembled when they were already assorted.

The paper says start with four mums, two stems of gypsophila, one stem of greenery, and a blush rose.
So far, so good.

From there, continue filling the bouquet with roses, leaves, and baby's breath, trying to keep everything pretty symmetrical.

I filled it all and then saw that there was another stem of mums left at the end, so I actually ended up taking the entire thing apart and starting over. The second time was a lot easier. I made sure to keep everything symmetric, matching the roses on either side.
I put the greenery around the edges because that's how I like it. When it was finished, I took a few leftover leaves and stuck them in the middle of the bouquet to try and give the bouquet a bit of texture. When I met with my florist, I kept saying that I wanted a lot of texture. I didn't want anything stiff and rigid in any of the bouquets. So, when I was DIY'ing this one, I wanted to make sure to have that come across.
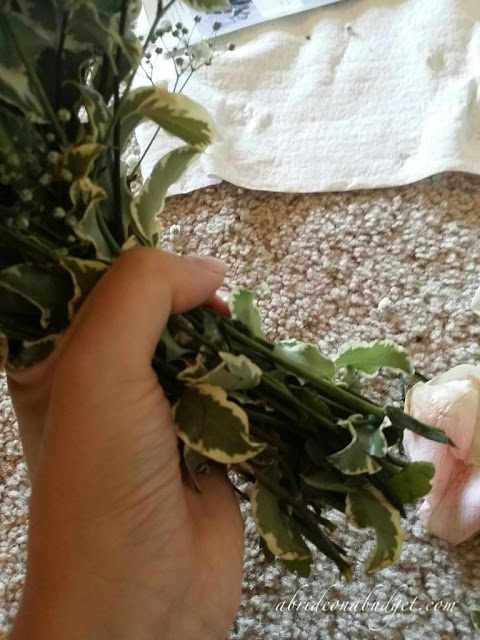
When your bouquet is set, cut the bottoms to the length you want. Have someone else do this or you will lose all your work. Pete cut the stems for me with poultry shears. They're a lot tougher than traditional scissors, and you'll need them to get through the stems of the greenery.
So, keeping that in mind, this is not a one person project. You will definitely want someone else on hand, even if it's just to cut the stems.

Wrap the stems with a rubber band so you can finally free up your hands.
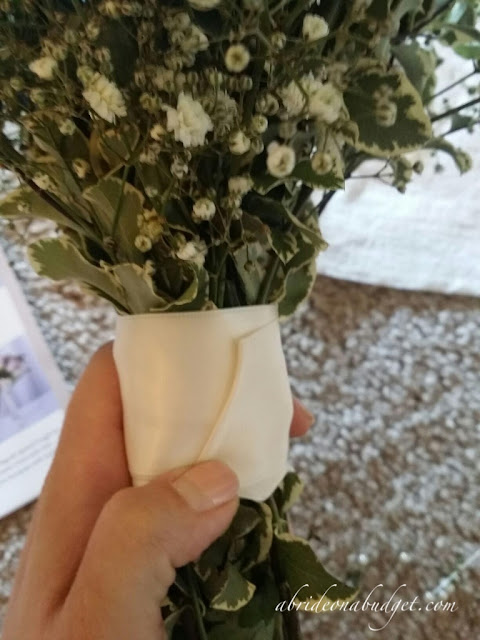
Wrap the enclosed ribbon around the rubber band, and fold it under (to a point) at the end.

Pin it upward (with the enclosed pins)
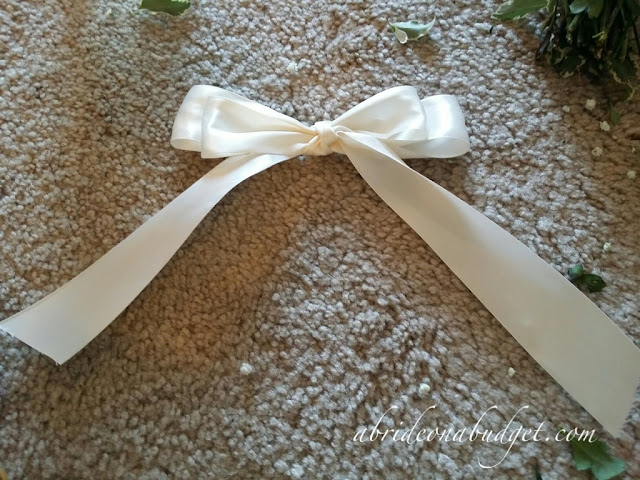
Use the second ribbon to create a bow. It took a little bit of trial and error, but I made a double bow. Honestly, that was the longest step of this whole process.

Pin the bow to the ribbon.
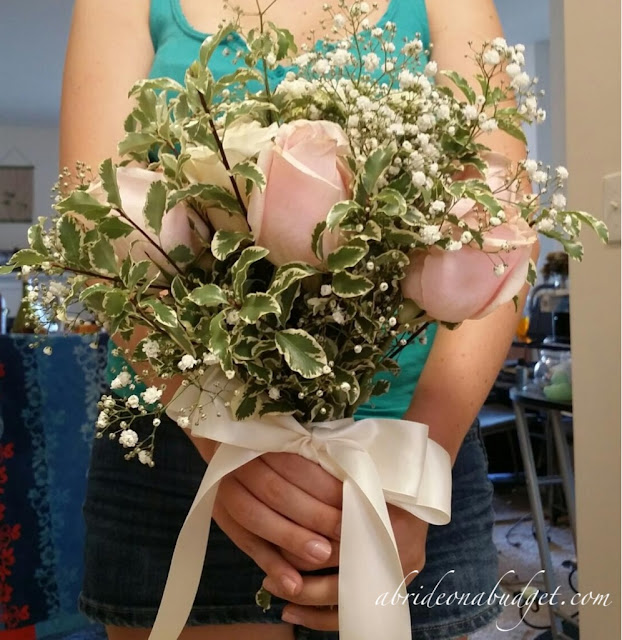
Walk down the aisle in style.
I was really impressed with my first DIY wedding bouquet. It looked super professional and didn't really take too long. Maybe twenty minutes from start to finish.
I wanted a cascade bouquet, so I wouldn't be confident in making that on my own right now, but if you want a handheld bouquet, you can definitely make it. I even had a rose and a little greenery left over, so I thought about making a boutineer too but I didn't have any pins or instructions for that.
Time is money, but money is money too. So, cost wise, how does Bloominous stack up? For the Vintage Cottage collection, a bridal bouquet (which is what I made) is $60. The bridesmaids bouquets (which are baby's breath only) are $25. Boutineers are $5 (the groom's is a rose and groomsmen are mums or carnations). We had roses for our groomsmen's boutineers, so that's the only item I can really compare apples to apples. Ours were $16 each, so triple the cost of Bloominous.
Our bridesmaids bouquets were more expensive than $25, but they were white hydrangea, lavender roses, purple stock, and seeded eucalyptus. So it's hard to compare that price to one that is gypsophila and greens only. The Country Charm kit on Bloominous has bridesmaids bouquets that have multiple flower types and those are $40. Less than what we paid, but remember, you do have to assemble them yourself.
We were very lucky and got exactly what I wanted for flowers at half the price I budgeted. There was a second florist in town that was charging double what we paid so Bloominous would be a huge savings from that florist. If you're getting astronomical quotes from florists (which, unfortunately, is realistic), Bloominous will definitely save you.
You will have to sit down and assemble them but it's really easy. Honest. Not to put down what florists do because, honestly, there are things that florists can create that I would never try to DIY. But, this homemade wedding bouquet looked really great and really professional (to my untrained eye. A professional florist may argue that, but they looked great to me).
What I really liked about Bloominous is that the company sends you exactly what you need to create the flowers. You don't have to worry about figuring out how many roses to purchase, how many mums you might need. It's easier than guessing what you might need, then finding out the night before your wedding that you are short a half a dozen roses and your homemade bouquets are incomplete.
I also really liked that there are very detailed instructions with nine photos total. It makes it so much easier to DIY. Even if you're not very crafty or creative, you can follow the instructions and make something really pretty.
If you have the time and manpower (and don't have any outrageous wedding bouquet ideas or expectations), I would definitely suggest DIY'ing your flowers. You might want to order a trial kit from Bloominous first, though, just to get your confidence for your wedding day flowers.
BRIDAL BABBLE: Could you put together DIY wedding bouquets?
Deciding on your wedding flowers? | |
|---|---|
| Check out our Ultimate Wedding Flowers Guide post. |


Thanks for the insightful info. I have brides wanting to save on flowers all the time but I don't recommend the DIY option. I might just tell them about this.
ReplyDeleteI think this is great for those who love to DIY-it! I myself did some things DIY for my own wedding, but wouldnt have the courage to do my own flowers! I used a wholesaler & they came out fabulous - I too had a cascade bouquet!
ReplyDeleteGreat idea - I must check out their other packages too!
ReplyDeleteThis is great, I had already planned on putting together my own bouquets but had no idea there was a company that would ship you everything you needed AND a road map to putting it together, LOVE it!
ReplyDeleteI've been married twice & both times a friend did all of my flowers with artificial ones...it meant more than a florist doing them & I was able to keep them as long as I wanted
ReplyDeleteThanks for sharing this. DIYing bouquets is a tough choice for me. I get really nervous about working with flowers so it's not the best option for me but if you are comfortable with the process, I say go for it.
ReplyDeleteSo lovely! I'm visiting from Wonderful Wednesdays Blog Hop and I'm really glad to have found you since I'm also involved with weddings. (I do event graphics like menus, programs, table cards and other stationery items). Your bouquets is just wonderful... :-)
ReplyDeleteThat is very nice for when you want a nice, natural--looking bouquet. Being able to try it out first with the company is a good way to test if you want to DIY.
ReplyDeleteAria H.
That's a really great tip to save money as a bride. Weddings can be so expensive. Such a needed blog! Thank you for linking up at Frugal Friday. www.SarahTitus.com
ReplyDeleteThose are some beautiful bouquets. You could save money on them and spend it in other areas where you can't DIY.
ReplyDeleteI think the bouquets are gorgeous! And I think it is a good way to save money on a budget. Making your own flower arrangements and bouquets is not as hard as it sounds. I would totally do this!
ReplyDelete