See, when we got married, I preserved my flowers using silica gel. Well, not exactly my flowers.
We stayed the night at the hotel where our reception was, and when we got home, I realized that I left my bouquet in the room. We called immediately upon noticing, but they were gone. It broke my heart because I wanted to save them. So Pete actually called our florist and had them recreate and then deliver my wedding bouquet. And I was able to preserve those and use them in the projects I had intended.
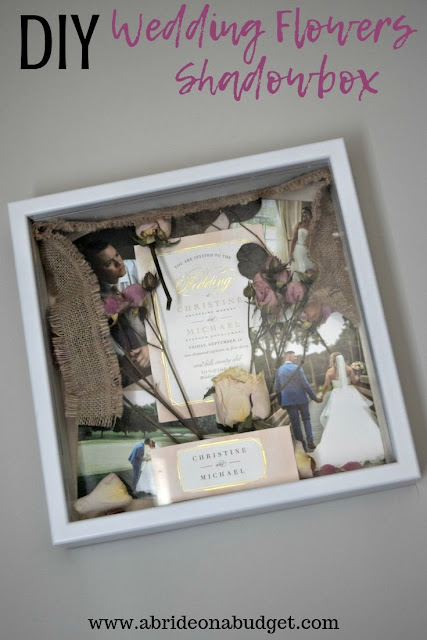
I didn't want to make my brother's wife the same exact thing I made for myself, so I decided to use a few of their wedding items to create a full wedding shadowbox. It came out even better than I could have imagined.
DIY Wedding Flowers Shadowbox
What You'll Need:
- Shadowbox
- Wedding flowers
- Silica gel
- Large airtight container
- Triple thick clear glaze spray
- Scissors
- Straight pins
- Double-sided tape
- Wedding photos
- Wedding invitation
What You'll Do:
As soon as possible, put the entire bouquet in a large plastic bag and tie it shut. I would recommend a small garbage bag with a knot tied at the top. You want to keep out as much air as possible so the flowers don't start oxidizing and discolor I got.
Then, keep the bag in the fridge until you've purchased your silica gel and container. That will also delay the discoloration of the petals. You can, honestly, keep it that way for a month, but the sooner you make it, the better.
This is a two part process. The first involves preserving the flowers in silica gel, which takes two weeks. The second is the assembly of the wedding flowers shadowbox. So, keep in mind that if you do want to make this for yourself or offer to make this for someone, it's not a project that will be completed quickly.
To Preserve The Flowers:
Take the bouquet from the fridge and remove it from the bag.
Carefully, unwrap any ribbon or burlap from the handle. It may be attached by pins, so look out for those. Don't throw these away. You'll use these to decorate the shadowbox later.
Very gently separate the flowers and any baby's breath or greenery. The petals are so delicate and may start falling off if you're too rough.
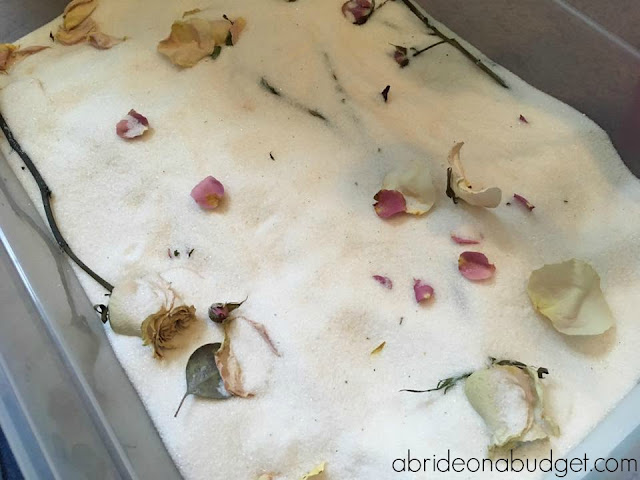
Fill the bottom of an airtight container with a layer of silica gel.
Place in a layer of flowers, baby's breath, and greenery on the silica gel. Cover that completely with another layer of silica gel. Add another layer of flowers and greenery, then another layer of silica gel.
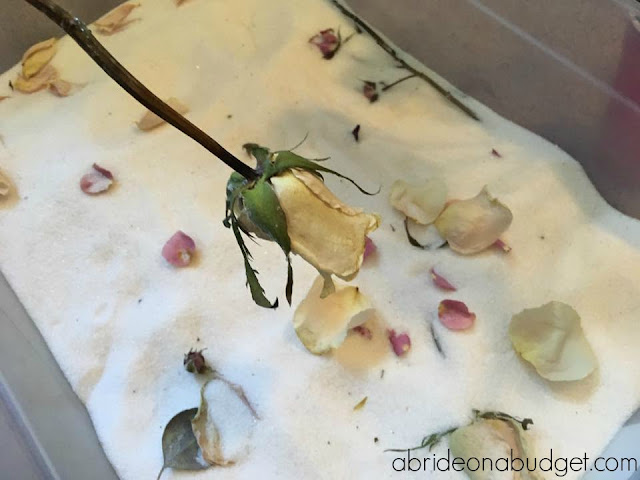
If you're preserving flowers like roses, you'll want to pour some the silica gel directly into the top of the flower before (gently) placing it in the box. This will help it hold its shape better and will preserve the inner petals as well.
Leave the box in a dry spot for two weeks.
After they've sat, carefully remove the flowers from the silica gel being sure to discard any silica gel that is between the petals. You can pour the silica gel from the box into a large airtight, zip-top plastic bag and reuse it. I've used mine a few times in the last five years.
Individually spray each flower and piece of greenery with a layer of triple thick clear glaze. One layer is enough, but be sure to get both sides (and the inside of the flowers). Store them upright until they've dried. Overnight is best.
To Make The Wedding Shadowbox:
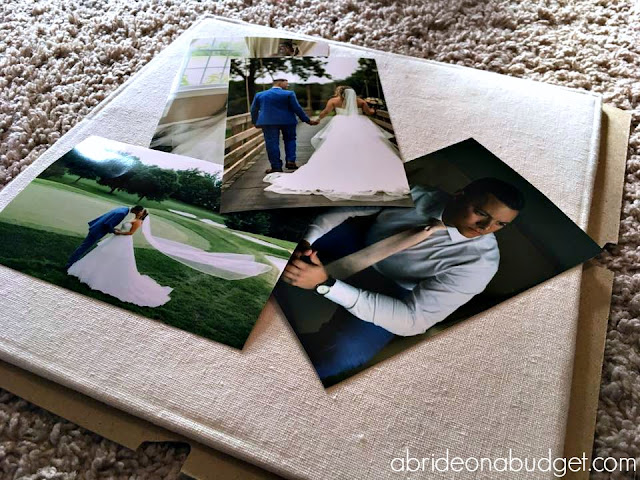
In the two weeks you're waiting for your flowers, print a couple of wedding photos from the couple and accumulate any wedding accessories you can: the invitation, the save the date, wine corks, escort card holders, etc. Of course, some of that takes pre-planning.
Take out the backside of the shadowbox and arrange your photos, accessories (including the burlap and ribbon), flowers, and greenery.
Once you have everything arranged, you'll be able to decide if you need to trim the stems off the flowers and greenery or the burlap/ribbon.
Try to keep things like the invitation or save the date as is.
Once you have everything as you want it, use the double-sided tape to hold down the burlap or ribbon. Then, if you have something like an invitation wrap, affix that to the front of the box.
Add a few petals on the bottom of the box to add a little depth.
Use the pins to affix everything else down. For the flowers, try to put two pins per (short) stem, then another two in the flower itself. You can glue everything down if you prefer, but I prefer the airy feeling the pins provide.
Put the back on the shadowbox and double check to make sure nothing moved before you close it.
Hang it on the wall.
BRIDAL BABBLE: What would you add to this DIY Wedding Flowers Shadowbox?




No comments:
Post a Comment