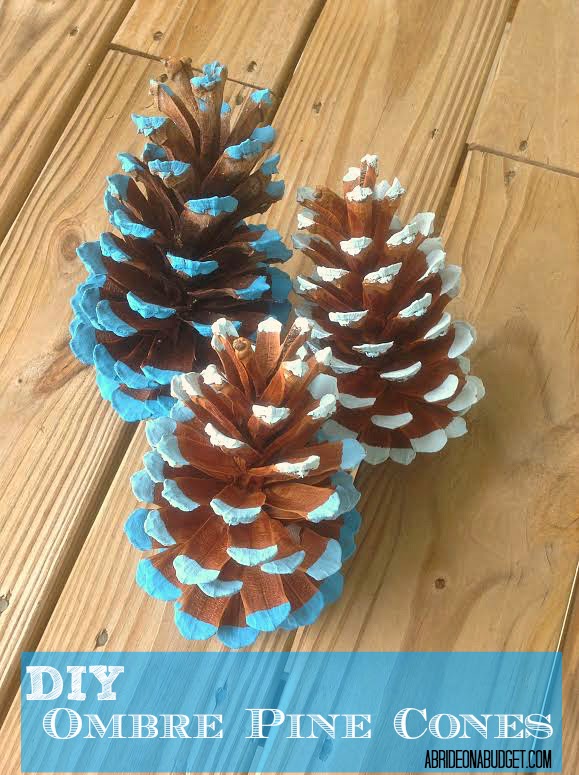
Ombre is still really hot right now, but it wasn't ever a trend I got into. I never had ombre hair, even though I am obsessed with this ombre hairstyle I pinned on Pinterest. But then I found this post for ombre pine cones. Her method is a little less organic (because she uses multiple hues) and I wanted to stick with the same paint for a more traditional feel.
So of course, I had to put together my own DIY Ombre Pine Cones post.
They're actually pretty simple and would make beautiful wedding centerpieces. If you do make them for centerpieces, though, I would advice you to employ some bridesmaids to help you. These are easy, but they can be time consuming. I made three; I couldn't imagine making 30 by myself.
The best part, honestly, is that these are so inexpensive. The pine cones are free and you only use a few dabs of paint on each. You could do three per table, and do ten table's worth, and still have paint left over. Each tube is under $.60 at Walmart, so for under $1.20 you can make 30 pine cones. That makes them four cents. Four. A table with three is completely decorated for twelve cents. You can't beat that.
DIY Ombre Pine Cones
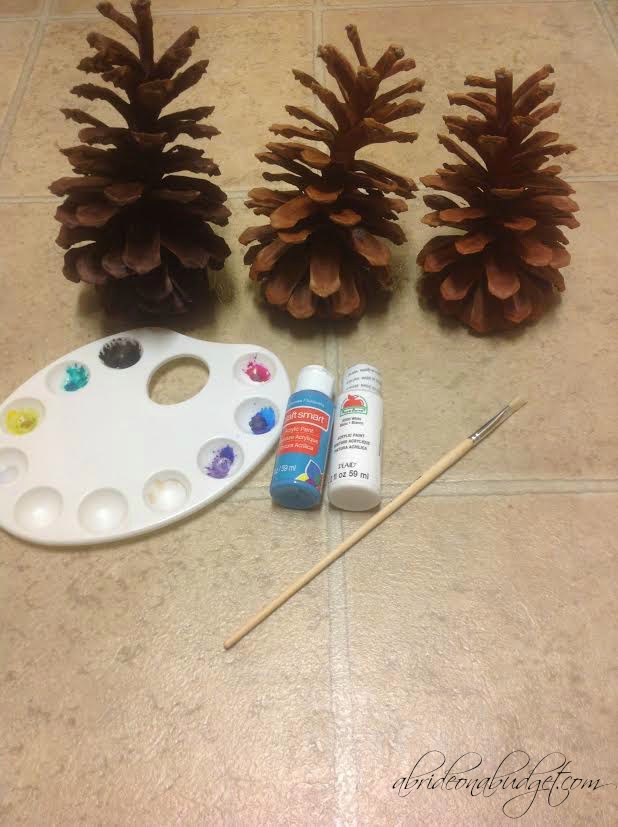
What You'll Need:
- Pine cones (make sure you properly prepare pine cones for crafting, according to our post)
- Colored paint (acrylic)
- White paint (acrylic)
- Paint tray (or any sort of surface if you don't have one; think: plastic lids)
- Paint brush
What You'll Do:
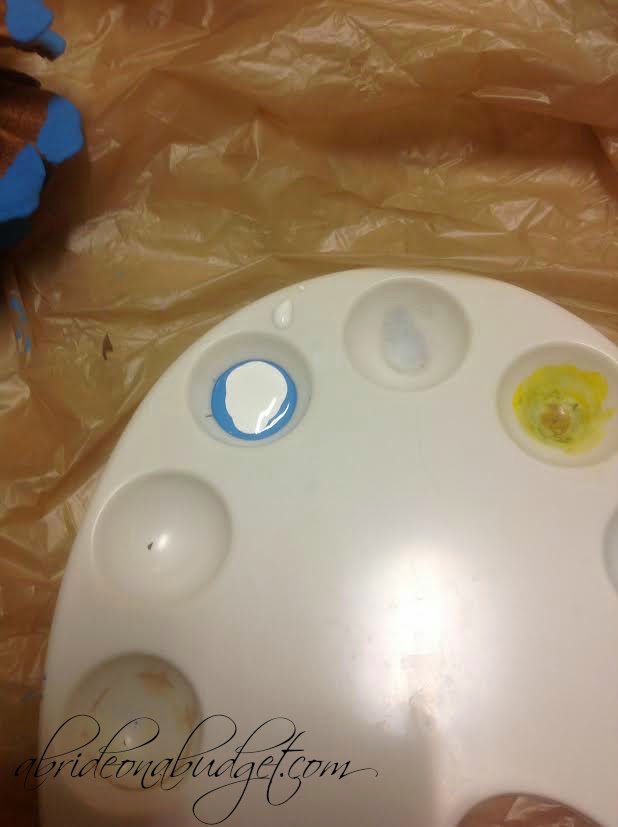
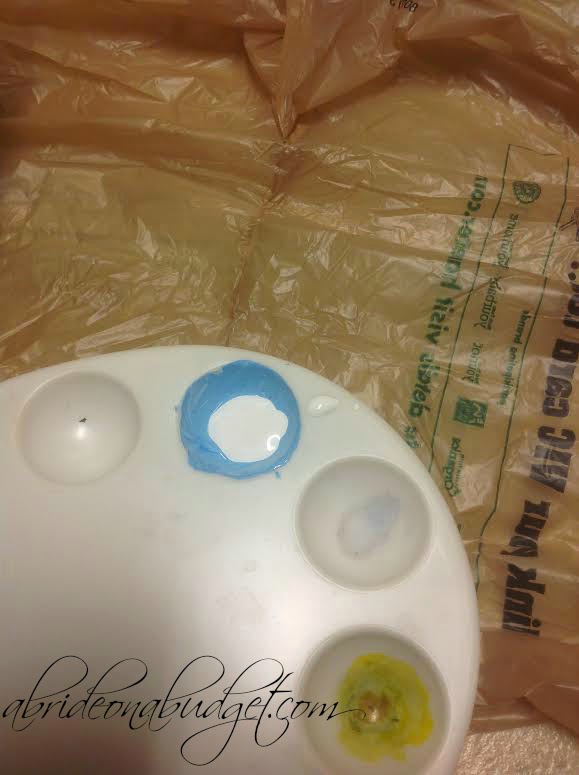
Squirt the colored paint into the paint tray (don't mind my leftover watercolor paint in the wells. A drop of water added and those will be reusable so I never wash watercolors form my paint tray. Acrylics, yes; watercolors, no).
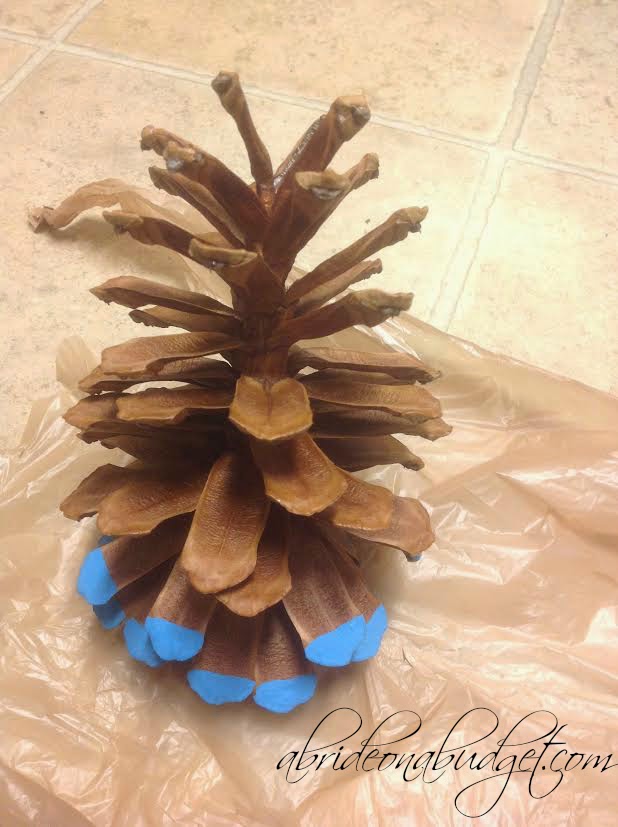
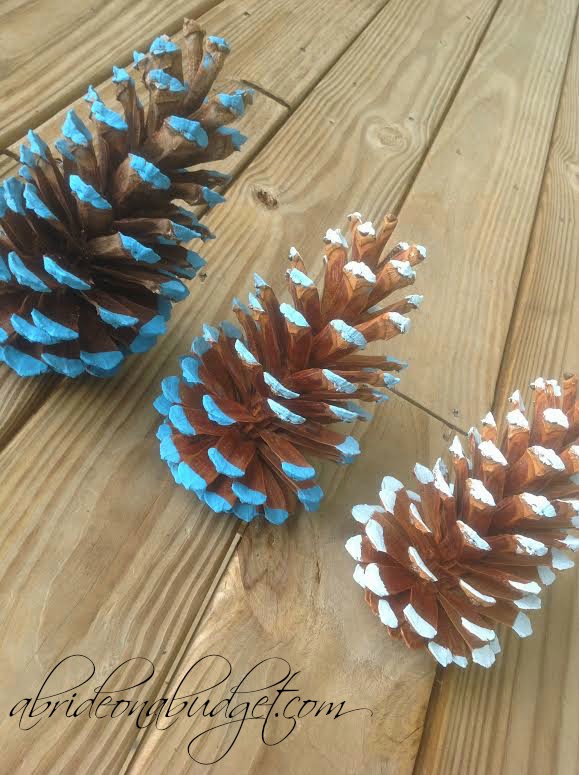
Paint the bottom third of the pine cone with the solid color. I just did straight lines across but you could do any sort of design.
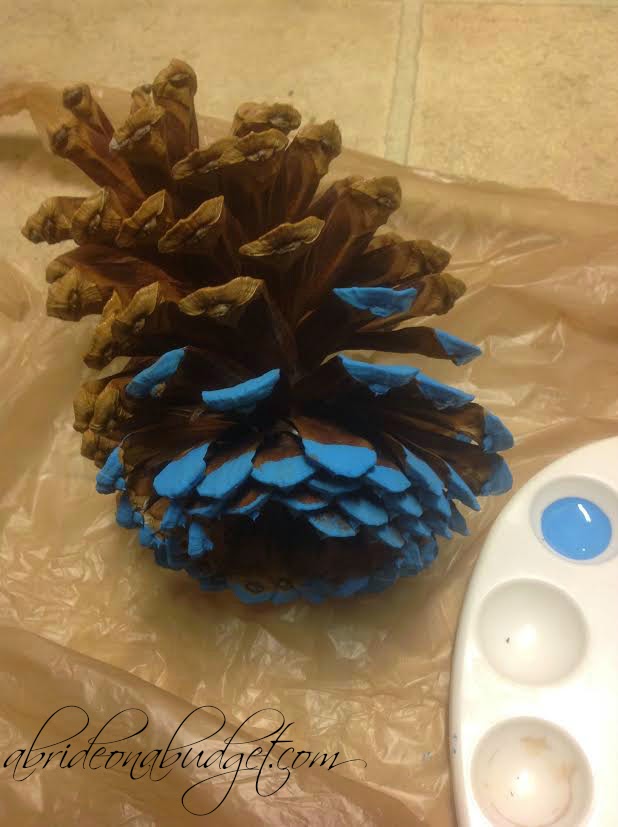
Flip the pine cone over and paint the underside of the bottom third. You need to paint the underside because, depending on the angle, you will only see the underside and it looks terribly unfinished if paint isn't on both sides.
Add white paint to the solid color paint's well. Mix together completely.
Paint the middle third of the pine cone. Be sure to also paint the underside.
Add more white to the mix. Paint the top third of the pine cone and its underside.
I ended up doing three pine cones, but I only wanted one completely ombre pine cone. I painted one pine cone the entire "top" color and I painted another pine cone the entire "bottom" color. To me, that was the perfect balance.
I left them outside overnight to completely dry ... and of course, we had a monsoon during the night and they got wet. The pine cones dried out and the paint stayed perfectly. So if you're making these and there's a storm (and there will be because, really, with weddings, anything that can go wrong will), you don't have to worry about these getting ruined.
I picked blue for these because blue is such a perfect winter wedding color, but you can choose any color to DIY ombre pine cones. I just would suggest picking a bold color for the base because the color will get really thinned out by the time you get to the top. If you choose a light pink to start, you won't really even notice the ombre feel (and if that's the case, you should just go with solid pine cones).
BRIDAL BABBLE: Do you think you could make these ombre pine cones?
Don't forget to properly prepare your pine cones. | |
|---|---|
Find out how in our tutorial here.
|





This is going to be a blast making with my friends
ReplyDeleteI love it!! It makes a great centerpiece and I can make it match the colors in my room
ReplyDeleteWhen I was a kid we had a tree in our backyard that littered our lawn with pine cones. Whenever my aunt or grandma would come over they would always leave with a bag of them so they could make crafts with them.
ReplyDeleteThis is nice good idea
ReplyDeleteThese are really beautiful!!!
ReplyDeleteThey look like little trees with snow on the branches! This looks like an easy craft that anyone could do.
ReplyDeleteI really think that this is a cute idea!
ReplyDeleteI have some pinecones that needed something, now I know what to do! Thanks
ReplyDeleteThese are a cute and fun idea, thanks for sharing
ReplyDeleteThose are cute and easy to do. Thanks.
ReplyDeleteI love this idea!
ReplyDeleteThose are cute. Better pine cones than hair. I know this is old, but true, what they now call ombre is what older people call roots showing.
ReplyDeleteVery cute! Also had no idea you had to prep Pine Cones for crafts.
ReplyDeleteThats such a cute and creative idea, wish i though of this for my wedding
ReplyDeleteThis is a cool DIY craft idea, I can't wait to try this. Thank you for sharing this craft post.
ReplyDeleteThis is so cute. I'm gonna have to make these with my daughter. She will love it.. One other thing Is I love how inexpensive it is to make. Thank you
ReplyDeleteThis is such a neat idea/craft. Thank you for sharing!
ReplyDeleteI love the pine cones! I actually have the same cone but for Christmas decorations
ReplyDeleteThese are so cute! Thanks for sharing. This is a great project with my grandkids.
ReplyDeletecute idea - but too time consuming for me!
ReplyDeleteThose are so cool! I'm going to share this blog with a friend that just got engaged.
ReplyDelete